Technology Never Stands Still—and Neither Do We
Validated Mini-ITX platforms engineered for reliable deployment in industrial, edge, and embedded system environments.
Deploying a Mini-ITX motherboard inside an ATX chassis is a strategic choice embraced by professionals who want to leverage compact computing while gaining the mechanical and thermal benefits of full-size enclosures. This combination is frequently seen in industrial control systems, quiet workstation builds, and scenarios requiring scalable power delivery. This guide offers comprehensive insights on mechanical fitment, airflow strategies, power considerations, and design trade-offs to help hardware engineers and embedded system integrators plan reliable, maintainable systems.
Understanding the fundamental size, mounting, and I/O specifications of ATX and Mini-ITX is critical before you start your integration project. This section describes the standards that impact mechanical alignment and component compatibility.
ATX is the most established motherboard standard for desktops and workstations. It offers extensive expansion capability and generous component spacing.
| Attribute | Specification |
|---|---|
| Width | 305 mm |
| Depth | 244 mm |
| Mounting Holes | 9 positions |
| Expansion Slots | Up to 7 PCIe slots |
| I/O Shield | Standard ATX size (99 mm × 44 mm) |
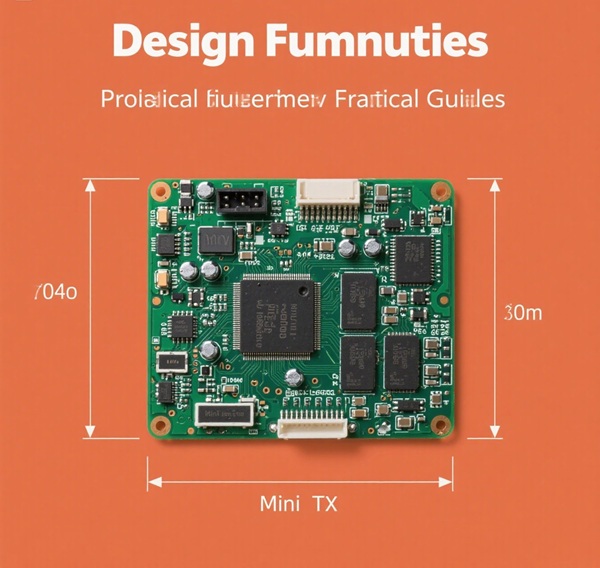
Mini-ITX is popular for compact builds due to its small footprint and efficient layout.
| Attribute | Specification |
|---|---|
| Width | 170 mm |
| Depth | 170 mm |
| Mounting Holes | 4 positions |
| Expansion Slots | 1 PCIe x16 slot |
The rear I/O shield dimensions remain consistent with ATX, simplifying integration.
Proper mechanical fitment ensures stability, prevents electrical shorts, and allows clean cable routing. This section explains best practices and precautions.
Most ATX trays include labeled standoff positions compatible with Mini-ITX. Always cross-check case documentation or reference stamping labels.
Leaving extra standoffs in place can cause shorts. Remove any unaligned standoffs or cover them with insulating washers.
Mini-ITX shields snap into the standard ATX I/O cutout without adapters, simplifying installation.
The single PCIe slot of a Mini-ITX board aligns to the top slot of an ATX backplane. Remaining slots remain unused and can be covered with blanking plates to improve aesthetics and airflow.
Using an ATX chassis often results in excess cable length. Modular PSUs and careful bundling are essential to avoid airflow obstruction and cable damage.
Power design is crucial when deploying Mini-ITX in a larger case. You must account for efficiency, cable management, and power distribution.
ATX PSUs are standard, but SFX units can be beneficial for reducing clutter. SFX-to-ATX adapter brackets are inexpensive and widely available.
| Scenario | Approximate Power Draw |
|---|---|
| Basic Embedded Control Build | 30–80W |
| Ryzen 7 + Discrete GPU | 150–250W |
| Idle Low Load | 20–50W |
Be aware that high-capacity PSUs are less efficient below 20% load.
High-performance GPUs require additional PCIe power cables. Also consider SATA power distribution for multiple drives and fan hubs.
Thermal performance is a major advantage of full-size cases. However, planning is needed to avoid dead zones and overcooling.
ATX cases use front-to-back or bottom-to-top airflow. In a build with a Mini-ITX board, dead zones can form around empty areas. Consider adding intake fans with wide dispersion patterns.
Large enclosures accommodate tall tower coolers (up to 180mm) or AIO radiators (240/280mm), providing significant thermal headroom.
Low-load systems with excessive airflow can create noise and turbulence. Tune fan curves to maintain a balance between cooling and acoustics.
Pairing Mini-ITX with ATX cases brings unique benefits beyond airflow and power headroom.
Spacious cases make cable management and component access easier. This is particularly valuable for embedded or industrial deployments requiring frequent service.
Larger fans can spin more slowly, reducing acoustic footprint. Vibration isolation becomes more effective with more mass and room.
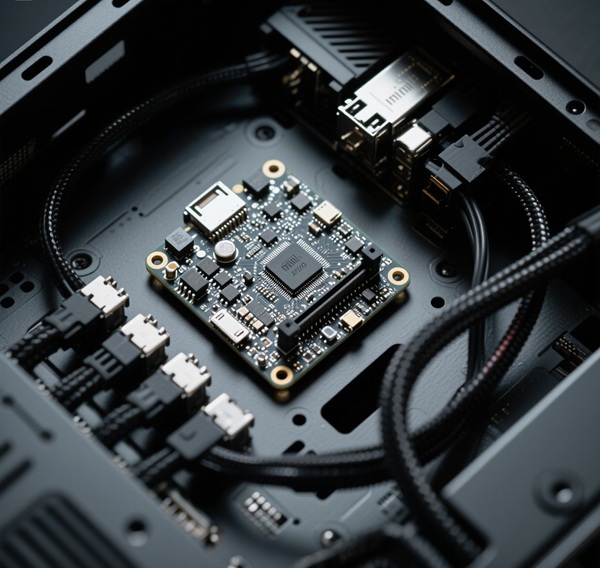
Mini-ITX boards in ATX cases are common in rugged, high-reliability systems.
Fanless embedded builds are often installed in ATX enclosures to dissipate heat passively and protect components from dust.
Large chassis allow space for custom I/O backplanes, specialized connectors, or redundant power supplies.
This section explores strategies to make your build visually balanced and professional.
Center the motherboard visually and route cables cleanly to maintain symmetry and appeal.
Acoustic optimization is easier in spacious enclosures.
Use foam mats and grommets to damp low-frequency hum from panels and drives.
Careful fan selection and curve tuning ensure near-silent operation at idle.
Planning ahead allows easier upgrades and maintenance.
Modular PSU cables and universal mounts make migrating easier.
This section addresses common installation hazards.
Support the board while connecting cables to prevent flex and microfractures.
Route data cables separately from power cables and use shielding where necessary.
Understand the budget and procurement trade-offs of this approach.
Stock spare I/O shields, standoff kits, and extension cables for long-term support.
Follow this checklist for a successful build:
Stay aware of evolving technologies shaping this integration method.
Expect higher power density and PCIe 5.0 GPU support.
Look for modular trays, advanced airflow baffles, and improved cable management.
Pairing a Mini-ITX board with an ATX enclosure delivers compelling advantages but requires deliberate planning. For professional advice and product selection, visit MiniITXBoard.